
Understanding Ductless Mini-Split Installation
What is a Ductless Mini-Split System?
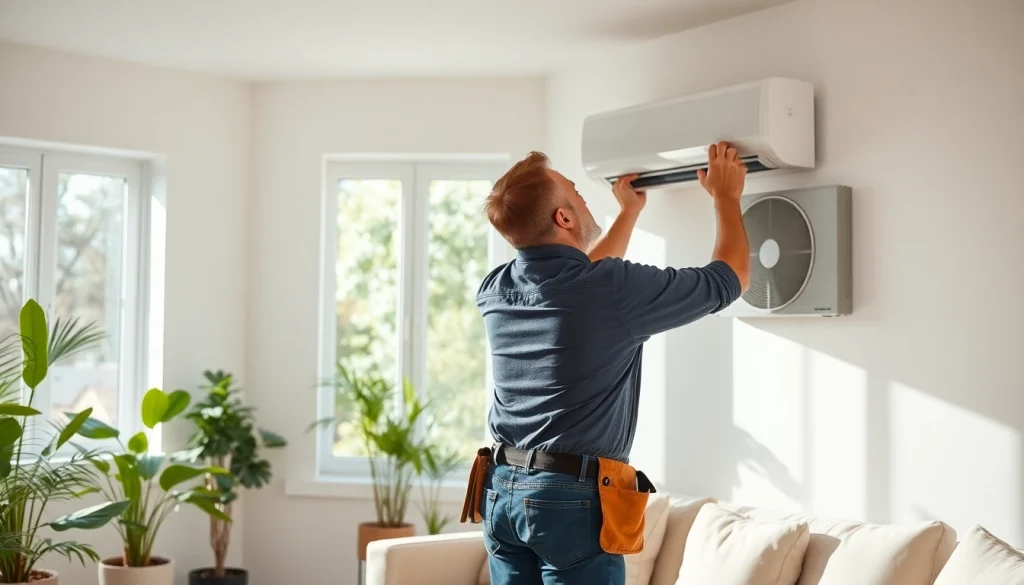
A ductless mini-split system is a type of heating and cooling system that allows for individualized climate control without the need for ductwork. These systems consist of two main components: an indoor air-handling unit and an outdoor condenser. The indoor units are mounted on walls or ceilings, while the outdoor unit typically sits on the ground or can be wall-mounted. Using refrigerant lines, the indoor and outdoor units are connected, allowing for efficient heat transfer.
Benefits of Ductless Mini-Split Installation
There are numerous benefits to installing a ductless mini-split system. Firstly, they offer energy efficiency, often providing significant cost savings on energy bills due to their ability to heat or cool specific zones rather than an entire home. Additionally, they provide flexibility in terms of installation, as they do not require extensive ductwork. This means installation can usually be completed in a shorter time frame, and they can be mounted in various locations to suit a home’s layout. Lastly, ductless mini-split systems operate quietly and enhance indoor air quality by reducing dust and allergens typically circulated through ducted systems. For more details about ductless mini-split installation, consider the various models and options available.
Different Types of Ductless Mini-Split Systems
Ductless mini-split systems come in different configurations to meet various needs. The most common types include:
- Single-zone systems: Ideal for heating or cooling a single room or area.
- Multi-zone systems: Capable of servicing multiple rooms with a single outdoor unit connected to several indoor units.
- Wall-mounted units: These are the most common and are affixed to walls, offering a streamlined appearance.
- Ceiling-mounted units: Perfect for rooms with limited wall space, these units are mounted on the ceiling.
- Floor-mounted units: These are versatile, able to fit in compact spaces and are often used in homes with existing heat sources.
Preparing for Installation
Site Assessment and Planning
Before installation, conducting a thorough site assessment is crucial. Consider factors such as the layout of your space, insulation levels, and existing heating and cooling systems. A qualified technician should evaluate the physical location for the indoor and outdoor units, ensuring that there is adequate space and accessibility for future maintenance. Planning should include consideration of the route for refrigerant lines and electrical wiring, minimizing any potential future complications.
Choosing the Right Model for Your Space
Selecting the appropriate ductless mini-split model is critical for achieving optimal efficiency and comfort. Consider the size of the area to be conditioned, as well as the climate in your region. Energy efficiency ratings, typically represented by SEER (Seasonal Energy Efficiency Ratio) for cooling and HSPF (Heating Seasonal Performance Factor) for heating, should also be considered. Models vary significantly in capacity; working with a professional to assess your needs can help ensure the right choice.
Essential Tools for Installation
The installation of a ductless mini-split requires specific tools to ensure the job is done correctly. Key tools include:
- Drill and drill bits for wall and ceiling mounting.
- Refrigerant gauge set to check system pressure.
- Vacuum pump to evacuate air from the refrigerant system.
- Pipe wrenches and adjustable wrenches for securing connections.
- Level to ensure proper installation of units.
Step-by-Step Installation Process
Mounting the Indoor Unit
To mount the indoor unit, first determine the optimal height and location, usually 7 to 8 feet from the floor for best air distribution. Use a level to mark the bracket’s position on the wall. Drill holes for the mounting screws, ensuring you have the necessary support for the unit’s weight. Securely attach the bracket, and then hang the indoor unit according to the manufacturer’s instructions, ensuring it’s firmly in place.
Installing the Outdoor Unit
Choose a location for the outdoor unit that is free from obstructions and has adequate airflow. Ground or wall-mounted options are available, depending on your site assessment findings. Once the site is prepared, mount the outdoor unit and connect it to a stable power source. Ensure it is level to facilitate proper operation.
Connecting the Systems
Connecting the systems involves linking the refrigerant lines and electrical wiring between the indoor and outdoor units. Follow the manufacturer’s specifications for the refrigerant line installation, ensuring they are not kinked or damaged. Electrical connections should be made with the unit powered off to ensure safety. Once all connections are secured, the system can be evacuated using a vacuum pump to remove air and impurities from the refrigerant lines.
Common Challenges and Solutions
Addressing Refrigerant Line Issues
Refrigerant line issues can be a major concern during mini-split installation. Common problems include kinks, improper insulation, and leaks. To mitigate these issues, ensure lines are carefully handled and insulated in areas of exposure to prevent pressure loss and potential damage. Regularly check the lines during and after installation to confirm they are fitted properly and leak-free.
Electrical Concerns in Installation
Electrical issues can lead to safety hazards and operational inefficiencies. Ensure that all electrical connections conform to local codes and that disconnect switches are accessible for maintenance. Testing the voltage before making electrical connections can help prevent common electrical problems, ensuring proper functionality of the system.
Ensuring Optimal Airflow
Maintaining optimal airflow is crucial for the effective operation of a ductless mini-split system. Ensure that indoor units are installed in locations that do not obstruct airflow, such as behind furniture or obstructed by drapes. Regular maintenance, such as cleaning filters and vacuuming dust from all components, will also aid in maintaining prime airflow.
Post-Installation Care and Maintenance
Regular Maintenance Tips
Regular maintenance is essential for prolonging the life of your ductless mini-split system. Schedule annual professional check-ups to assess performance and address minor issues before they become significant. Additionally, clean or replace filters every few months, vacuum the unit’s exterior, and ensure that the outdoor unit is free from debris and obstructions.
Signs That Service Is Needed
Being aware of signs that service is needed can save homeowners from costly repairs in the long run. Common indicators include fluctuating temperatures, unusual noises from the units, increased energy bills, and the presence of refrigerant leaks. If any of these signs are observed, contacting a professional is recommended to assess and resolve the issue quickly.
Improving Energy Efficiency
To maximize the energy efficiency of your ductless mini-split system, consider implementing strategies such as utilizing programmable thermostats to control temperatures based on occupancy patterns, sealing windows, and improving home insulation. Additionally, routine maintenance and timely service can greatly improve the system’s overall efficiency.
FAQs About Ductless Mini-Split Installation
1. How long does it take to install a ductless mini-split system?
The average installation time for a ductless mini-split system is typically 4 to 6 hours, though this may vary based on the complexity of the installation and the number of zones being served.
2. Is ductless mini-split installation expensive?
While the initial cost of ductless mini-split installation can be higher compared to traditional systems, the efficiency and potential energy savings may lead to lower long-term costs. Factors like model choice and installation complexity affect the price.
3. Can I install a ductless mini-split myself?
DIY installation of a ductless mini-split is possible, but it is recommended to hire a professional. Proper installation requires knowledge of refrigerants, electrical work, and building codes to avoid safety issues.
4. How often should I service my ductless mini-split system?
Regular servicing is advised at least once a year to keep the system running efficiently. More frequent maintenance may be necessary based on usage and environmental conditions.
5. Do ductless mini-split systems filter air?
Yes, ductless mini-split systems typically include air filters that can help trap dust, allergens, and other particles. Regular cleaning or replacement of these filters is important for maintaining indoor air quality.